Table of Contents
The whimsical allure of unicorns has captivated imaginations for generations, and now this enchantment can take center stage at your next celebration. Transforming a simple cake into a mesmerizing unicorn creation might seem like a task reserved for professional bakers, but with the right guidance, you’ll discover that crafting this magical dessert is well within your reach. Whether you’re planning a child’s birthday party or simply wish to inject some fantastical fun into an ordinary day, this comprehensive unicorn cake recipe will guide you through every colorful step of the process.
Introduction: The Magic of Unicorn Cakes
Remember when your little one first discovered the enchantment of unicorns? That precious moment when their eyes widened with wonder and fantasy became the center of their world? The request for a unicorn-themed birthday party often follows, complete with the ultimate centerpiece request: a dazzling unicorn cake.
My journey into unicorn cake artistry began when my daughter whispered her birthday wish for a “rainbow unicorn cake that would make everyone go wow.” What followed was an adventure in baking that brought more joy than I could have anticipated—not just to her but to everyone who witnessed her face light up when that magical creation emerged from the kitchen.
Today, I’m sharing that same enchantment with you—a detailed unicorn cake recipe that transforms ordinary ingredients into an extraordinary centerpiece worthy of gasps, photos, and treasured memories. This step-by-step guide ensures that even if you’re a baking novice, you’ll create a masterpiece that appears professionally crafted.
What Makes a Perfect Unicorn Cake?
Before diving into mixing bowls and food coloring, understanding the essential elements that create an authentic unicorn cake will help guide your creative process:
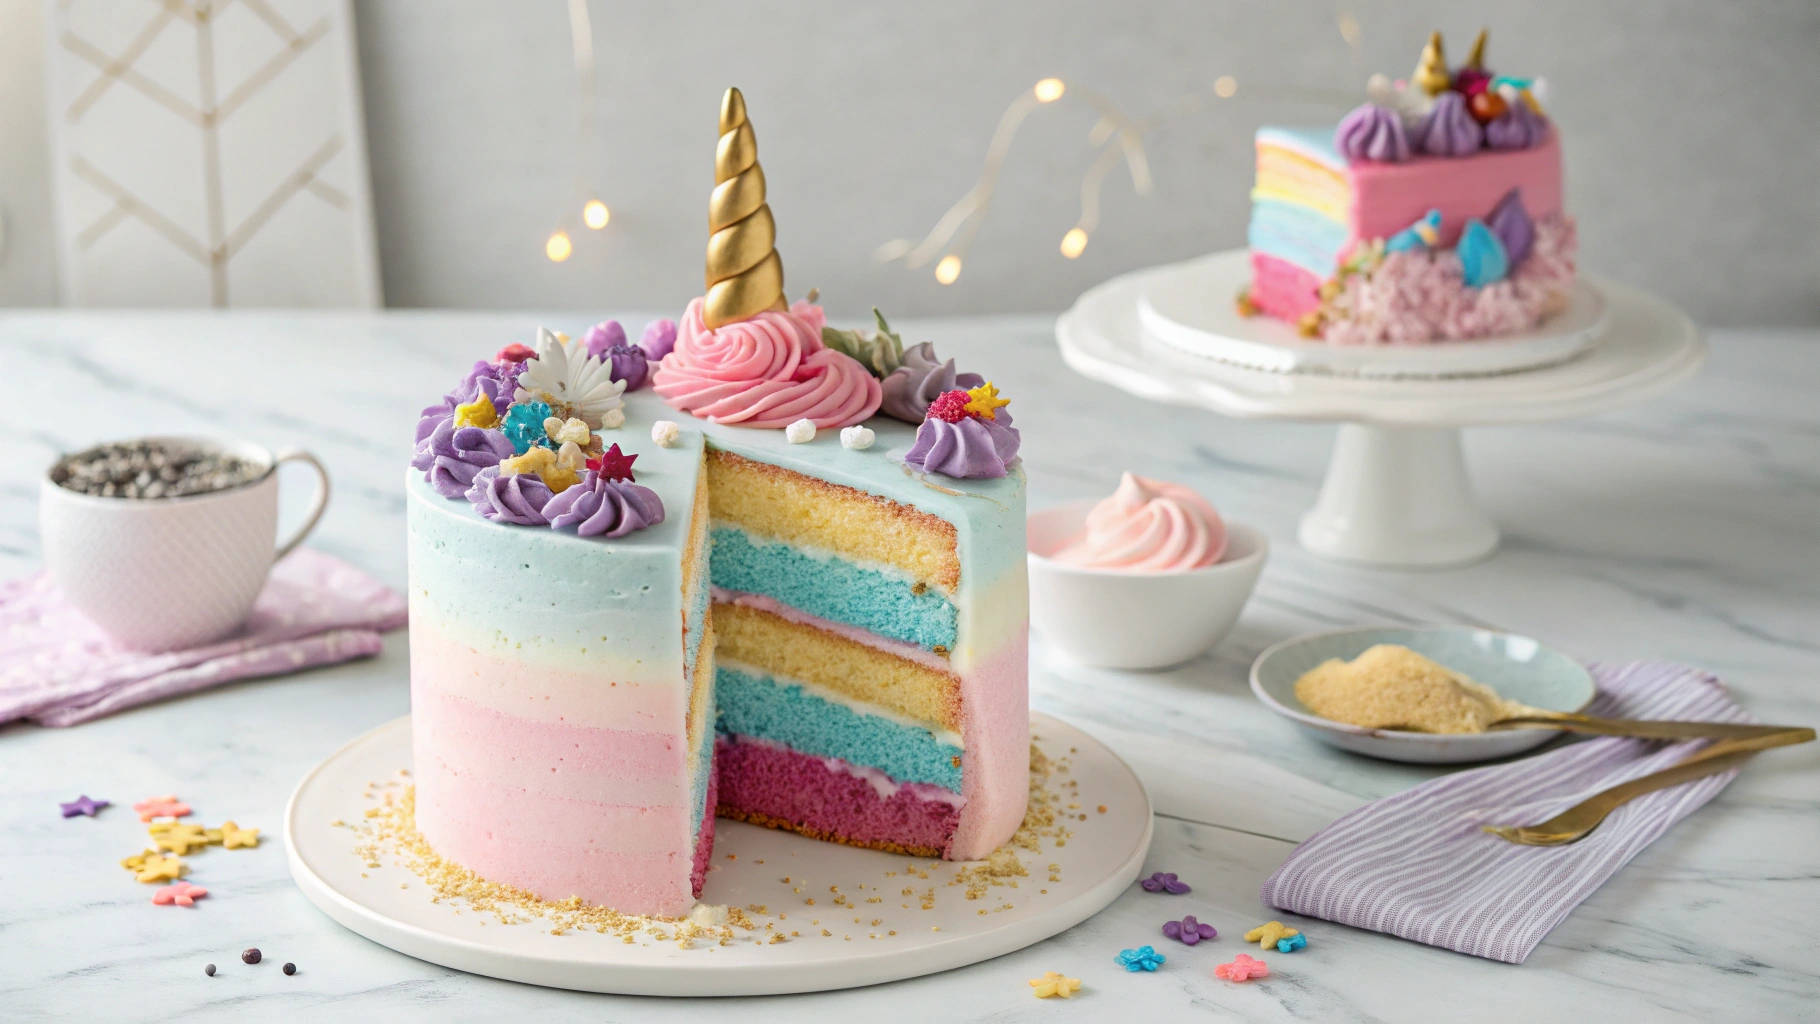
- Vibrant rainbow layers or colorful swirls hidden inside for that magical reveal when cut
- Smooth, dreamy buttercream frosting in soft pastel colors that blend together like a watercolor painting
- A handcrafted unicorn horn (typically gold or rainbow-colored) standing proudly as the focal point
- Whimsical decorative elements including ears, eyes, and a floral mane that brings your unicorn to life
- Personal touches that reflect the birthday child’s unique vision of what their unicorn should embody
The beauty of unicorn cakes lies in their versatility—while certain features remain consistent, each creation becomes as distinctive as its maker. Your interpretation might feature lavender and mint pastels or bold rainbow colors; delicate rosettes or playful stars; minimalist elegance or exuberant decoration. The choice is yours, making each unicorn cake a one-of-a-kind treasure.
Essential Ingredients for Your Unicorn Cake
Gathering quality ingredients before beginning ensures your unicorn creation not only looks magical but tastes delicious too. Here’s everything you’ll need:

| Cake Ingredients | Quantity |
|---|---|
| All-purpose flour | 3 cups |
| Granulated sugar | 2 cups |
| Unsalted butter | 1 cup (room temperature) |
| Large eggs | 4 |
| Milk | 1 cup |
| Vanilla extract | 2 teaspoons |
| Baking powder | 1 tablespoon |
| Salt | 1/2 teaspoon |
| Gel food coloring (various colors) | As needed |
| Frosting & Decoration Ingredients | Quantity |
|---|---|
| Unsalted butter | 2 cups (room temperature) |
| Powdered sugar | 6 cups |
| Heavy cream | 1/4 cup |
| Vanilla extract | 1 tablespoon |
| Salt | Pinch |
| Fondant (white, gold, black) | 1 pound |
| Edible gold dust | 1 small container |
| Sprinkles and edible pearls | As desired |
Equipment You’ll Need for Your Unicorn Cake
While unicorn cakes look elaborate, you won’t need professional equipment to achieve remarkable results. These basic tools will see you through the process:
- 3 8-inch round cake pans (for evenly-sized layers)
- Electric mixer (stand or hand) for perfectly smooth batters and frostings
- Offset spatula for achieving those smooth frosting surfaces
- Piping bags and tips (particularly star tips for the mane)
- Cake turntable if available (makes decorating significantly easier)
- Small fondant tools for shaping the horn and ears
- Food-safe paintbrush for applying gold dust to the horn
Don’t worry if your kitchen arsenal isn’t complete—many bakers create stunning unicorn cakes with minimal specialized equipment. The magic comes from patience and creativity more than fancy tools.
Step-by-Step Unicorn Cake Recipe
Preparing Your Rainbow Cake Layers
The heart of your unicorn creation begins with vibrant, colorful cake layers that will delight everyone when sliced:
- Preheat your oven to 350°F (175°C) and prepare your cake pans by lining the bottoms with parchment paper circles and greasing the sides with butter.
- In a large bowl, cream together butter and sugar until the mixture becomes noticeably lighter in both color and texture, approximately 3-4 minutes of continuous mixing.
- Add eggs one at a time, fully incorporating each before adding the next. This patient approach prevents curdling and ensures a uniform batter.
- Mix in vanilla extract until fully distributed throughout the batter.
- In a separate bowl, whisk together flour, baking powder, and salt to ensure even distribution of leavening agents.
- Gradually add dry ingredients to wet ingredients in three additions, alternating with milk (beginning and ending with dry ingredients). Mix just until ingredients are incorporated—overmixing risks a tough cake texture.
- Divide batter equally into 5-6 bowls and color each with different gel food coloring. Traditional rainbow colors work wonderfully, though pastel variations can create an equally enchanting effect.
- Layer colored batters into prepared pans. You can either divide each color among all pans for striped layers, or dedicate different colors to different pans for distinct colored layers.
- Bake for 25-30 minutes or until a toothpick inserted into the center emerges clean. The cakes should spring back lightly when touched.
- Cool in pans for 10 minutes before transferring to wire racks to cool completely before frosting. Room temperature cakes are much easier to work with than warm ones, which can cause frosting to melt.
Making the Perfect Unicorn Buttercream
The magical appearance of your unicorn cake largely depends on smooth, stable buttercream that holds its shape while remaining deliciously edible:
- Beat butter until remarkably creamy and noticeably lighter in color, approximately 5 minutes. This extended beating incorporates air for a fluffier frosting.
- Gradually add powdered sugar, one cup at a time, mixing thoroughly between additions. This methodical approach prevents sugar clouds and ensures a smooth texture.
- Add vanilla extract, salt, and heavy cream, continuing to mix until fully incorporated.
- Beat on high speed for 5-7 minutes until the frosting achieves an ultralight, cloud-like consistency. This extended mixing creates stability crucial for detailed decorating.
- Remove approximately 1/3 of the frosting to keep white for the unicorn’s face area.
- Divide remaining frosting into separate bowls and tint each with pastel colors. Classic choices include soft pink, lavender, mint green, and pale blue, though you can customize based on your overall color scheme.
Creating the Unicorn Horn and Ears
The defining features that transform your cake from ordinary to magical deserve special attention:
- For the horn: Roll gold or white fondant into a long, tapered rope approximately 8 inches long. If using white fondant, you’ll apply gold dust later.
- Twist the rope carefully to create spiral ridges reminiscent of a narwhal or mythical unicorn horn. Insert a thin wooden skewer about halfway into the base to provide structural support.
- Stand the horn upright, supported by the skewer inserted into a styrofoam block or cup filled with sugar, and allow it to dry for 24 hours. This drying time ensures it won’t collapse when placed on your cake.
- If using white fondant, once dry, gently brush edible gold dust over the horn’s surface using a dry food-safe brush for a magical metallic finish.
- For the ears: Roll white fondant to approximately 1/8 inch thickness and cut two teardrop or leaf shapes roughly 2 inches long.
- Roll pink (or color of choice) fondant even thinner and cut smaller shapes that will fit inside the white ears, representing the inner ear.
- Attach the smaller pieces to the white ears using a tiny amount of water as adhesive.
- Gently pinch the base of each ear to create a natural curve, then prop them against a curved surface (like a rolling pin) while drying for several hours until firm.
Assembling Your Magical Unicorn Cake
Now comes the transformation—watch as your components unite to create unicorn magic:
- Level your cooled cake layers if necessary, creating flat surfaces that will stack evenly without wobbling.
- Place your first layer on a cake board slightly larger than your cake, securing it with a small dollop of buttercream underneath.
- Spread a half-inch layer of buttercream on top before adding your next cake layer. Repeat until all layers are stacked.
- Apply a thin layer of white buttercream all over the cake—this “crumb coat” seals in any loose crumbs. Refrigerate for 30 minutes until firm.
- Cover the entire cake with a smooth, thicker layer of white buttercream, paying particular attention to achieving smoothness on the top and sides. This becomes the unicorn’s face and body.
- Position the horn on the top-center of the cake, inserting the supporting skewer deeply enough to ensure stability.
- Arrange the ears on either side of the horn, angling them slightly outward for a lifelike appearance.
- Use black fondant to create closed eyelashes (or affix pre-made sugar eyes if preferred). Position them on the front of the cake to establish the unicorn’s face.
- Fill piping bags with your colored buttercream, fitting each with a star tip or your preferred decorating tip.
- Begin piping the colorful buttercream “mane” around the horn and down the sides of the cake, alternating colors for a rainbow effect. The mane typically covers the top and cascades down one side of the cake.
- Add edible flowers, sprinkles, and pearls strategically throughout the mane for dimensional interest and extra whimsy.
Decorating Tips for a Professional-Looking Unicorn Cake
Elevate your unicorn cake from homemade to seemingly professional with these sophisticated techniques:
- Choose complementary colors that harmonize rather than compete—pastels often work beautifully together
- Practice piping techniques on parchment paper before applying to your cake
- Chill the cake between decorating steps for cleaner, more precise results
- Add subtle shimmer with edible pearl dust brushed lightly over the unicorn’s face
- Consider the cake’s presentation environment—design elements that will stand up to transportation and venue temperature
Personalizing Your Unicorn Cake
Make your unicorn creation uniquely special for the celebration:
- Incorporate the birthday child’s name with fondant letters arranged near the base
- Include their age with a matching fondant number or candle topper
- Use their favorite colors prominently in the cake layers or mane design
- Add themed cake toppers like miniature rainbows, stars, or clouds around the unicorn
Troubleshooting Your Unicorn Cake
Even experienced bakers encounter challenges. Here are solutions to common unicorn cake issues:
- Cracking horn? Add a small amount of tylose powder to your fondant for added strength and stability
- Sliding decorations? Ensure your buttercream base is properly chilled and firm before adding elements
- Uneven layers? Use a dedicated cake leveler or serrated knife before stacking for professional-looking results
- Buttercream too soft? Refrigerate for 15-20 minutes before continuing to pipe or decorate
- Colors bleeding into one another? Use gel colors instead of liquid and apply decorations only after your base frosting has developed a slight crust
Serving and Storage Tips for Your Unicorn Cake
Proper serving and storage preserve both the appearance and flavor of your masterpiece:
The ideal way to serve your unicorn cake is at room temperature when flavors are most pronounced and textures are optimal. If you’ve refrigerated the finished cake, allow 1-2 hours for it to come to room temperature before serving.
For cutting, warm a long, sharp knife under hot water, dry completely, and cut with decisive, clean strokes. Wipe the blade between cuts for pristine rainbow slices that showcase your colorful interior.
Your creation will remain fresh in the refrigerator for up to 5 days when stored in an airtight container or wrapped carefully with plastic. The fondant decorations may soften slightly with refrigeration but will maintain their shape.
Conclusion: The Joy of Creating Unicorn Magic
Creating a unicorn cake transcends mere baking—it’s crafting an experience that brings fantasy to life. The process involves patience and creativity, but the reward comes in the form of wonder-filled eyes and delighted gasps when your creation makes its grand entrance.
The time invested in perfecting your colorful layers, smooth frosting, and whimsical decorations yields more than just a dessert; it produces a centerpiece of childhood memories that may well become the standard against which all future birthday cakes are measured. Years later, conversations will begin with “Remember that amazing unicorn cake you made?”
So embrace the creative journey, enjoy the process as much as the result, and take pride in knowing that your unicorn cake contribution adds genuine magic to a special celebration. After all, childhood wonder deserves extraordinary moments—and few things capture that spirit better than a dazzling, delicious unicorn masterpiece crafted with love.
Frequently Asked Questions About Unicorn Cakes
Can I make this unicorn cake in advance?
Yes! The beauty of this unicorn cake recipe lies in its make-ahead potential. You can bake the cake layers up to 2 days ahead and freeze them wrapped tightly in plastic wrap. The completely assembled unicorn cake can be created 1-2 days in advance and stored in the refrigerator. For best results, add the most delicate decorations (like the horn and ears) on the day of serving.
Is there a gluten-free option for this unicorn cake recipe?
Absolutely! You can create a magical gluten-free unicorn cake by substituting the all-purpose flour with a 1:1 gluten-free baking flour blend. Many bakers report excellent results using brands specifically formulated for cake baking. Just ensure your other ingredients, including vanilla extract and any decorative elements, are also certified gluten-free.
How do I transport my unicorn cake safely?
Transporting your masterpiece requires planning. Use a sturdy cake box with non-slip matting on the bottom. Consider removing particularly delicate decorations like the horn and ears to transport separately, then reassemble at the destination. If traveling during warm weather, keep the car cool and avoid direct sunlight on the cake box. For added stability, chill the assembled cake thoroughly before transport.
Can I use store-bought cake mix for my unicorn cake?
While homemade batter provides the best texture and flavor control for your unicorn cake, quality boxed cake mix can serve as a time-saving alternative. To improve the structure for decorating, add 1/4 cup of flour to the mix and substitute milk for the water called for on the box. These simple modifications create a sturdier cake that better supports your decorative elements.
How do I get vibrant colors in my unicorn cake layers without using excessive food coloring?
Professional-quality gel or paste food colors deliver intense hues with minimal product, making them ideal for creating vibrant rainbow effects in your unicorn cake. Add color gradually, starting with small amounts and building to your desired intensity. For particularly vivid colors, many bakers prepare the batter a day ahead, as some colors deepen overnight. Remember that while the batter might appear bright, baked layers typically lighten somewhat during cooking.
