Table of Contents
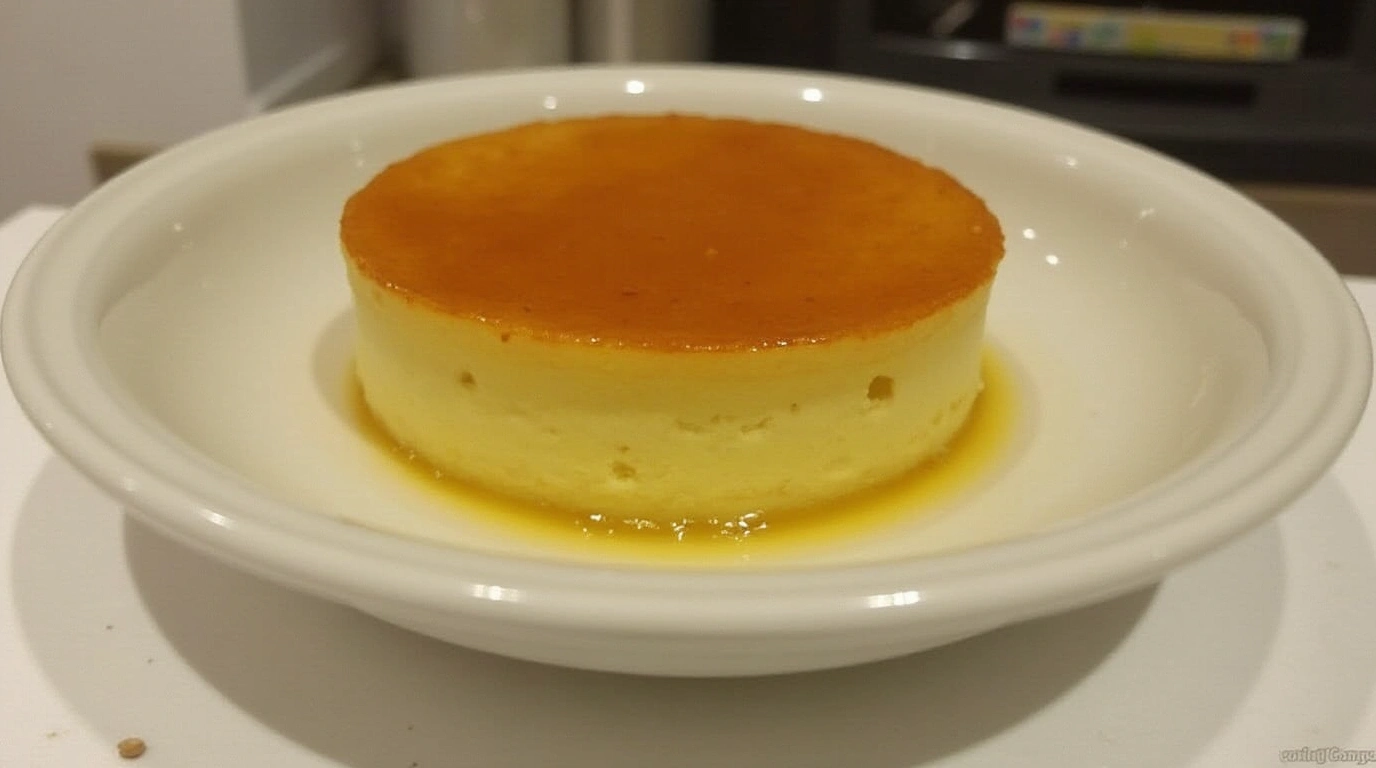
There’s something almost magical about a perfectly made custard—that first spoonful of silky smooth, velvety deliciousness that seems to melt on your tongue. If you’ve ever been intimidated by making custard from scratch, today is the day that changes! This classic custard recipe breaks down the process into seven simple steps that guarantee perfect results every time, no culinary degree required.
Did you know that custard has been enjoyed since ancient Roman times? Those clever Romans discovered that egg yolks make an exceptional thickening agent, creating a luxurious texture that’s stood the test of time for thousands of years. Pretty impressive for such a humble dessert!
What makes this particular custard recipe special is its versatility. Once you master these seven steps, you’ll have a foundation for countless desserts—from traditional custard tarts to crème brûlée, or simply enjoyed on its own with a sprinkle of nutmeg. Unlike my popular Chocolate Mousse recipe (which many of you have raved about!), this custard requires fewer ingredients but delivers equally impressive results.
So grab your whisk and prepare to impress family and friends with a dessert that looks sophisticated but is surprisingly simple to create. Trust me—once you master this custard recipe, it will become a regular in your dessert rotation!
What is Custard Recipe?
Ever wondered what makes a custard a custard and not just a fancy pudding? It all comes down to its silky, spoonable consistency achieved through the magical marriage of eggs, milk, sugar, and gentle heat. Think of custard as pudding’s sophisticated older sibling—smooth, refined, and just a bit more complex!
The name “custard” comes from the Old French word “croustade,” meaning “crust,” since custards were originally used as fillings for crusted pies. As my grandmother used to say while stirring her famous vanilla custard, “The way to everyone’s heart is through custard—it’s impossible to be unhappy while eating it!” An exaggeration? Perhaps, but there’s something undeniably comforting about this simple, elegant dessert.
So whether you’re a custard connoisseur or a first-time maker, this recipe will guide you to creamy perfection. Ready to create some magic in your kitchen?
Why You’ll Love This Custard Recipe:
This custard recipe stands out for its unmatched silky texture that feels like pure luxury with every spoonful. The secret lies in the careful temperature control and gentle cooking technique, resulting in a dessert with the perfect consistency—not too firm, not too runny, but just right to coat the back of a spoon beautifully. Each bite delivers a rich, vanilla-infused creaminess that melts in your mouth and lingers pleasantly on your palate.
Making custard at home is remarkably economical compared to store-bought options. Premium custards from specialty shops can cost upwards of $5-7 for a small container, while this homemade version costs just a fraction of that price. With basic pantry staples like eggs, milk, sugar, and vanilla, you can create a dessert that tastes far superior to anything commercially produced.
- Bist Amazon Picks:
The beauty of this custard recipe lies in its adaptability—it serves as a perfect canvas for countless flavor variations. While the classic vanilla is timeless, you can easily infuse the milk with cinnamon sticks, cardamom pods, or citrus zest for subtle flavor dimensions. For a more decadent treat, try drizzling with caramel sauce, sprinkling with fresh berries, or adding a dust of cocoa powder before serving.
If you enjoy this custard recipe, you’ll definitely want to try my Crème Brûlée recipe next—it builds on these same techniques but adds that irresistible caramelized sugar crust on top! Ready to create the smoothest, most delicious custard you’ve ever tasted? Let’s dive into the simple steps that will transform basic ingredients into dessert perfection.
How to Make Custard Recipe:
Quick Overview
Creating the perfect custard is all about gentle cooking and patience, but the results are absolutely worth it. This recipe produces a luxuriously smooth, rich custard with a delicate vanilla flavor that stands beautifully on its own or complements countless desserts. The slow cooking process ensures that silky texture custard lovers crave, without any of the dreaded curdling or lumpiness. From start to finish, you’ll need about 25 minutes of active preparation time, plus cooling—making this an achievable dessert even on busy days.
Key Ingredients for Custard Recipe:

- 2 cups whole milk (full-fat produces the best results)
- 1 vanilla bean, split lengthwise (or 2 teaspoons pure vanilla extract)
- 4 large egg yolks (room temperature)
- 1/3 cup granulated sugar
- 2 tablespoons cornstarch
- Pinch of salt
- Freshly grated nutmeg (optional, for serving)
Step-by-Step Instructions:
- Prepare your milk mixture: Pour the milk into a medium-sized heavy-bottomed saucepan. If using a vanilla bean, scrape the seeds into the milk and add the pod as well. (If using vanilla extract, you’ll add it later.) Place the saucepan over medium-low heat and warm the milk until you see small bubbles forming around the edges—do not let it boil. Once heated, remove from heat and let the vanilla infuse for about 10 minutes if time allows. If you used a vanilla bean, remove and discard the pod after infusing.
- Prepare your egg mixture: While the milk is heating, whisk together the egg yolks and sugar in a medium bowl until the mixture becomes pale yellow and slightly thickened, about 2-3 minutes of vigorous whisking. This step is crucial for incorporating air and creating that silky texture. Add the cornstarch and salt, then whisk until completely smooth with no visible lumps.
- Temper the eggs: This is the most critical step to prevent curdling! Very slowly pour about 1/2 cup of the warm milk into the egg mixture while continuously whisking. This gradually raises the temperature of the eggs without cooking them. Continue adding another 1/2 cup of warm milk while whisking constantly.
- Combine and cook: Once the eggs are tempered, pour the egg-milk mixture back into the saucepan with the remaining milk, whisking constantly as you pour. Return the saucepan to medium-low heat. If using vanilla extract instead of a bean, add it now.
- Achieve perfect thickness: Cook the mixture, stirring constantly with a wooden spoon or heat-resistant silicone spatula, making sure to reach all areas of the bottom of the pan to prevent scorching. Never stop stirring! The custard is ready when it thickens enough to coat the back of the spoon and a finger drawn through it leaves a clear path, about 5-7 minutes. Do not let it boil—if you see bubbles forming, immediately reduce the heat.
- Strain for silky smoothness: Remove the custard from heat and immediately pour it through a fine-mesh sieve into a clean bowl. This step removes any bits of cooked egg that might have formed, ensuring perfectly smooth custard. If you haven’t added vanilla extract yet, stir it in now.
- Cool properly: Place plastic wrap directly on the surface of the custard (this prevents a skin from forming) and let it cool to room temperature before refrigerating for at least 2 hours, or preferably overnight. The custard will continue to thicken as it cools.
What to Serve Custard Recipe With:
This versatile custard recipe pairs beautifully with a variety of accompaniments to create stunning desserts for any occasion. Serve it warm or chilled with fresh seasonal fruits—berries in summer, poached pears in fall, or citrus in winter—for a refreshing contrast to the custard’s richness.
For a classic English trifle, layer the custard with pound cake, fruit preserves, fresh berries, and whipped cream in a clear glass bowl for a spectacular presentation. The custard also makes an excellent filling for tarts, eclairs, or cream puffs when slightly thickened.
Pour the warm custard over bread pudding, apple crisp, or peach cobbler for an elevated dessert experience. For a simple but elegant dessert, serve individual portions in small glasses or ramekins with a sprinkle of cinnamon, freshly grated nutmeg, or a drizzle of caramel sauce.
Custard also pairs wonderfully with strong coffee or tea, creating a balanced end to a hearty meal. For a grown-up twist, consider adding a splash of dessert wine like Sauternes or a sweet sherry alongside your custard for a sophisticated dessert course.
Top Tips for Perfecting Custard Recipe:

Temperature control is everything: The key to silky smooth custard is gentle, controlled heat. Never let your custard boil or even simmer—this will cause the eggs to curdle. If you’re nervous about temperature, use a candy thermometer and keep the mixture below 180°F (82°C).
Room temperature eggs matter: Always use room temperature egg yolks, as they incorporate more smoothly into the mixture. If you’ve forgotten to take them out ahead of time, place the eggs in a bowl of warm (not hot) water for 5-10 minutes before using.
The cornstarch safety net: While traditional French custards often skip cornstarch, it provides insurance against curdling for beginners. If you want a more traditional custard texture, you can reduce the cornstarch to 1 tablespoon or omit it entirely once you’re comfortable with the technique—just be extra vigilant with temperature control.
Vanilla bean substitution: If vanilla beans are too expensive or unavailable, use 2 teaspoons of high-quality pure vanilla extract. Add it after cooking to preserve the fresh flavor. For an economical alternative with similar visual appeal, use vanilla bean paste (1 teaspoon), which contains the distinctive black specks.
Prevent skin formation: Always place plastic wrap directly touching the surface of the custard while cooling, unless you’re a fan of the skin that forms on top.
Fix a broken custard: If your custard does curdle slightly, immediately remove it from heat and pour it into a blender. Blend on low speed for 30 seconds to smooth it out, then strain through a fine-mesh sieve.
Flavor variations: Infuse the milk with cinnamon sticks, cardamom pods, star anise, or citrus zest for 30 minutes before starting (remove before adding to eggs). For chocolate custard, add 2 ounces of finely chopped chocolate to the hot custard and stir until melted.
Storing and Reheating Tips:
Homemade custard can be stored in an airtight container in the refrigerator for up to 3 days. Always make sure the container is sealed well, with plastic wrap directly on the surface of the custard to prevent a skin from forming and to block any refrigerator odors from being absorbed.
For the best texture and flavor, consume the custard within the first 48 hours. You may notice some liquid separation after storage—this is normal. Simply whisk gently to reincorporate before serving.
Custard doesn’t freeze well on its own, as the texture becomes grainy and watery when thawed. However, if the custard is used as a component in another dessert (like baked into a custard tart), then the entire dessert can sometimes be frozen successfully.
If you prefer warm custard, reheat it gently using either a double boiler or microwave method. For the double boiler approach, place the custard in a heat-safe bowl over simmering water and stir constantly until it reaches your desired temperature. Be careful not to overheat.
For microwave reheating, use 50% power in short 15-second intervals, stirring well between each interval to distribute the heat evenly. Watch it carefully, as overheating will cause the custard to separate.
If your custard becomes too thick after refrigeration, you can thin it by whisking in a small amount of warm milk, one tablespoon at a time, until it reaches the desired consistency.

1 thought on “Custard Recipe: 7 Simple Steps to Silky Smooth Perfection”
Comments are closed.