Table of Contents
Remember that moment when you’re halfway through a recipe and suddenly realize you need bread crumbs? The panicked search through your pantry, only to come up empty-handed. We’ve all been there. I certainly have—standing in my kitchen at 7 PM, a half-assembled casserole in front of me, wondering if I could substitute crushed crackers for the bread crumbs the recipe called for. That’s when I discovered the simple joy of making my own bread crumbs at home—fresher, more flavorful, and surprisingly versatile. Not only did I save my dinner that night, but I also began a journey into creating custom bread crumb blends that have elevated my cooking ever since.
- Bist Amazon Picks:
What Are Bread Crumbs and Why Make Them at Home?
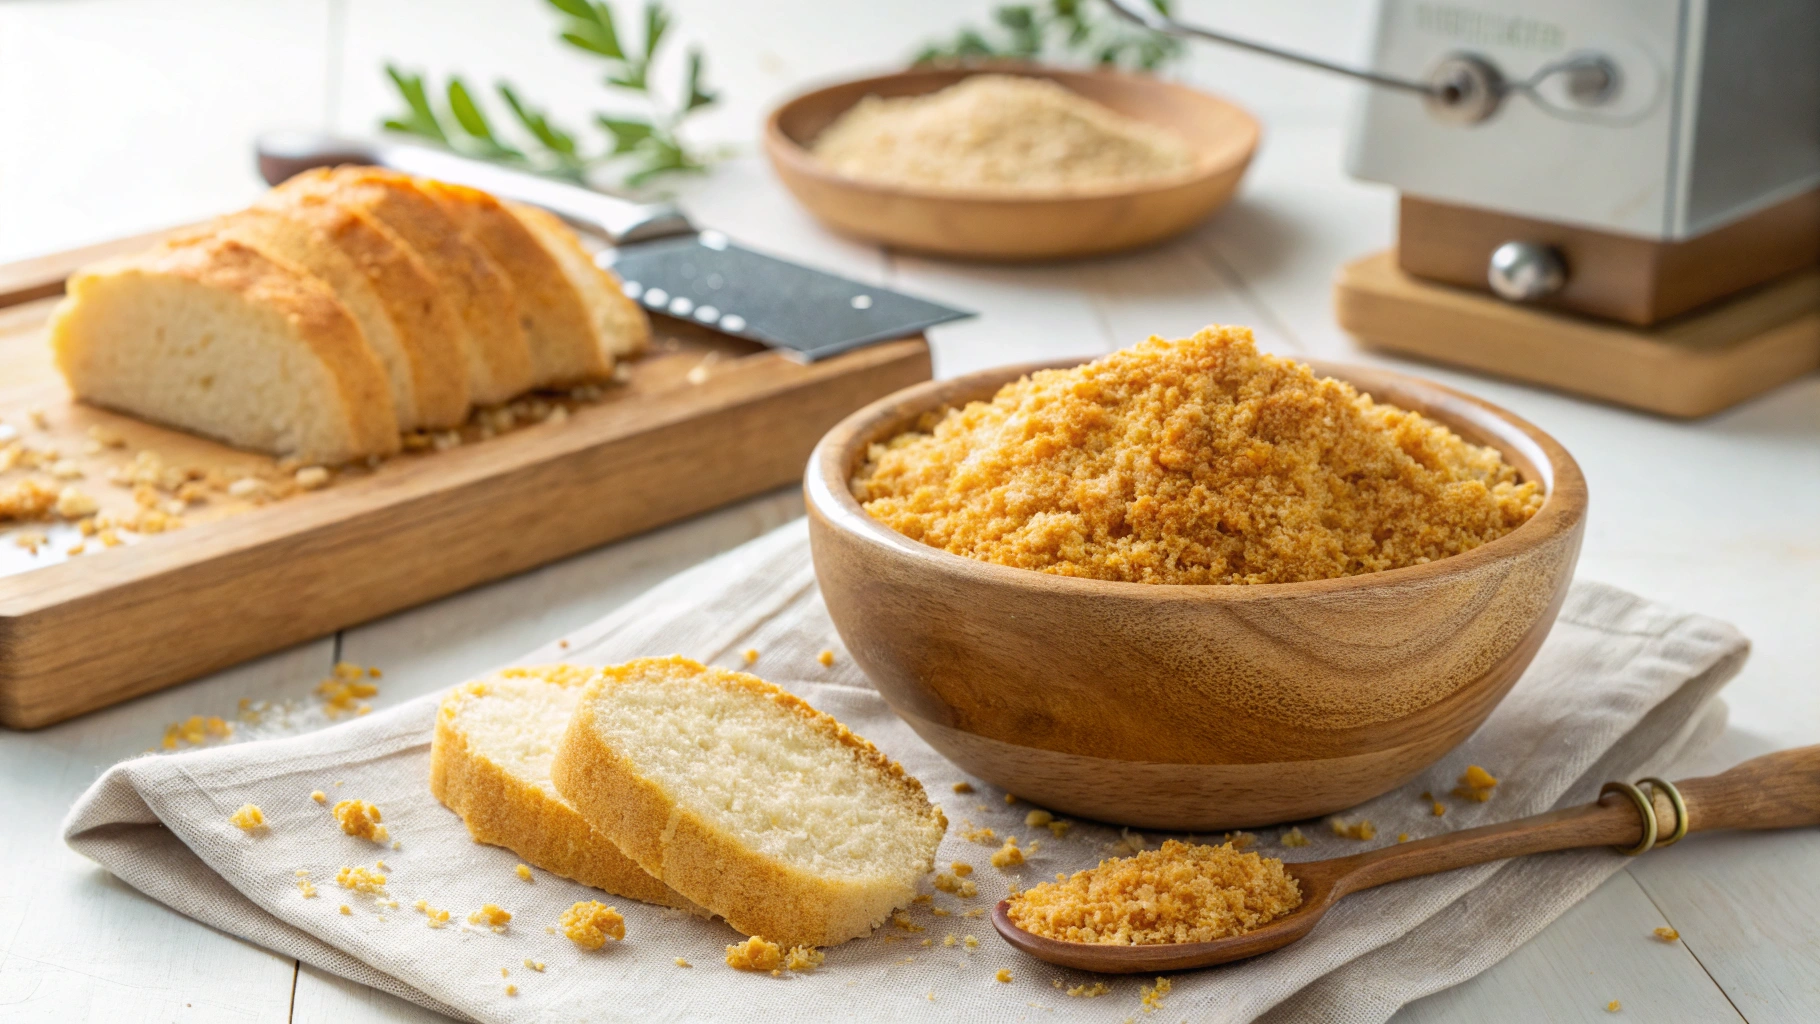
The Magic of Homemade Bread Crumbs
Store-bought bread crumbs might seem convenient, but they often lack the texture and flavor that truly elevate your dishes. Creating your own bread crumbs opens up a world of culinary possibilities while offering numerous benefits:
- They deliver a noticeably fresher taste and superior texture compared to commercial alternatives
- You’ll avoid preservatives, artificial flavors, and excessive sodium found in packaged versions
- Making your own transforms stale bread into a valuable kitchen staple, reducing food waste
- The cost savings add up, especially if you regularly cook with bread crumbs
- You gain complete control over flavor profiles, allowing perfect pairings with specific recipes
When you craft bread crumbs in your kitchen, you’re not just preparing an ingredient—you’re creating a versatile cooking essential that can transform ordinary meals into extraordinary culinary experiences.
Types of Bread Crumbs You Can Make at Home
Not all bread crumbs serve the same purpose. Depending on your recipe, you might need one of these distinctive varieties:
- Fresh bread crumbs: Soft, moist, and perfect for stuffings or as a binder in meatballs
- Dried bread crumbs: Shelf-stable with a crisp texture, ideal for coatings and toppings
- Panko-style bread crumbs: Exceptionally light and airy Japanese-style crumbs that create an unmatched crispy exterior
- Seasoned bread crumbs: Custom-flavored blends tailored to complement specific cuisines
- Gluten-free options: Special versions made from alternative breads for those with dietary restrictions
Understanding these different types empowers you to select exactly the right bread crumb for each culinary application, ensuring optimal results every time.
Essential Ingredients for Perfect Homemade Bread Crumbs
Best Breads for Making Bread Crumbs
The foundation of exceptional bread crumbs begins with choosing the right bread. Each variety brings unique characteristics to your finished product:
| Bread Type | Flavor Profile | Best Uses |
|---|---|---|
| White bread | Mild, versatile | General purpose, breading |
| Sourdough | Tangy, complex | Italian dishes, crunchy toppings |
| Whole wheat | Nutty, hearty | Casseroles, meatloaf, healthier options |
| Rye | Distinctive, robust | German or Eastern European dishes |
| Brioche | Rich, buttery | Sweet applications, special coating |
| Gluten-free | Varies by brand | Allergy-friendly options |
While day-old or slightly stale bread works wonderfully (and helps reduce food waste), fresh bread can also produce excellent results—just ensure it’s properly dried during preparation.
Optional Add-ins to Enhance Your Bread Crumbs
Transform basic bread crumbs into culinary powerhouses with these flavorful additions:
- Dried herbs: Italian seasoning, herbs de Provence, or oregano add aromatic dimensions
- Hard cheeses: Freshly grated Parmesan or Pecorino Romano contribute savory depth
- Flavor boosters: Garlic powder, onion powder, or paprika infuse subtle complexity
- Citrus zest: Lemon or orange peel adds brightness and unexpected flair
- Nutritional yeast: Creates cheesy flavor for vegan preparations without dairy
These enhancements allow you to craft signature bread crumb blends perfectly tailored to your cooking style and preferred flavor profiles.
How to Make Basic Bread Crumbs at Home (3 Methods)
Method 1: Food Processor Method (Fresh Bread Crumbs)
This technique produces light, fluffy fresh bread crumbs in minutes:
- Begin by removing crusts if desired (though keeping them adds texture and nutrition)
- Tear bread into chunks approximately 1-2 inches square
- Place bread pieces in your food processor, filling it no more than halfway
- Pulse in short bursts until you achieve your desired consistency—about 10-15 pulses for coarse crumbs, more for finer texture
- Use immediately for recipes requiring fresh bread crumbs, or proceed to drying for longer storage
For recipes calling specifically for fresh bread crumbs, stop here. Their moisture content is perfect for binding ingredients in meatloaves or creating soft stuffings.
Method 2: Oven-Dried Bread Crumbs
This method yields perfectly dried, shelf-stable bread crumbs:

| Ingredient | Amount |
|---|---|
| Bread slices | 6-8 slices |
| Olive oil (optional) | 1 tablespoon |
| Salt | ½ teaspoon |
| Italian herbs (optional) | 1 tablespoon |
Instructions:
- Preheat your oven to 300°F (150°C)
- Cut or tear bread into roughly 1-inch pieces for even drying
- If adding oil and seasonings, toss bread pieces lightly to coat
- Arrange in a single layer on a baking sheet, ensuring pieces don’t overlap
- Bake for 10-15 minutes until completely dry and lightly golden, stirring once halfway through
- Allow to cool completely on the baking sheet (important for crispness)
- Transfer to food processor and pulse until desired consistency is reached
- Store in an airtight container away from heat and moisture
This method creates versatile bread crumbs with excellent texture that remain fresh for weeks when properly stored.
Method 3: Air Fryer Bread Crumbs
For the quickest results with minimal energy use:
- Cut bread into small, uniform pieces about ½-inch square
- Place in your air fryer basket, being careful not to overcrowd
- Set temperature to 300°F and cook for 3-5 minutes, shaking the basket halfway through
- Check frequently to prevent burning—bread should be completely dry and lightly toasted
- Allow to cool completely before processing into crumbs
- Pulse in food processor or crush in a sealed plastic bag using a rolling pin
The air fryer method offers remarkable speed and efficiency, perfect for small batches when you need bread crumbs quickly.
Specialty Bread Crumb Recipes to Elevate Your Cooking
Italian Seasoned Bread Crumbs
These flavorful bread crumbs instantly upgrade pasta dishes, chicken cutlets, and more:
| Ingredient | Amount |
|---|---|
| Dried bread crumbs | 2 cups |
| Dried parsley | 2 tablespoons |
| Grated Parmesan | ¼ cup |
| Garlic powder | 1 teaspoon |
| Onion powder | 1 teaspoon |
| Dried oregano | 1 teaspoon |
| Dried basil | 1 teaspoon |
| Salt | ½ teaspoon |
| Black pepper | ¼ teaspoon |
Simply combine all ingredients in a bowl, mixing thoroughly to distribute seasonings evenly. Store in an airtight container for up to three weeks. These versatile crumbs bring authentic Italian flair to countless dishes without the artificial ingredients found in commercial versions.
Panko-Style Bread Crumbs
The secret to achieving the distinctive light, airy texture of Japanese panko lies in the preparation method:
- Select fresh white sandwich bread with minimal crust
- Remove crusts completely (save them for another use)
- Tear bread into pieces and pulse very briefly in food processor—aim for flaky texture rather than fine crumbs
- Spread resulting flakes on baking sheet and dry in oven at 250°F (120°C) for 10-15 minutes, watching carefully to prevent browning
- Cool completely before storing
Panko’s unique structure absorbs less oil than traditional bread crumbs, resulting in exceptionally crispy coatings on fried foods. They’re ideal for tonkatsu, crispy shrimp, and any dish where maximum crunch is desired.
Gluten-Free Bread Crumbs
Creating gluten-free bread crumbs requires minor adjustments to the standard process:
- Choose high-quality gluten-free bread (avoid overly soft varieties as they may become gummy)
- Cut into cubes and dry completely in oven at 275°F (135°C), which may take slightly longer than wheat bread
- Process thoroughly to achieve uniform texture
- Consider adding extra seasonings to enhance flavor
- Store in freezer for longest shelf life, as gluten-free crumbs can stale more quickly
These specialized bread crumbs ensure everyone can enjoy crispy coatings and flavorful toppings, regardless of dietary restrictions.
How to Store Homemade Bread Crumbs
Short-Term Storage Options
For bread crumbs you’ll use within a month:
- Room temperature: Store in an airtight container in a cool, dark place for up to one week, ideal for fresh bread crumbs
- Refrigerator: Extend shelf life to 2-3 weeks by keeping in a sealed container in your refrigerator
Always ensure bread crumbs are completely cooled before storage to prevent unwanted moisture from creating mold.
Long-Term Storage Solutions
For preserving bread crumbs over extended periods:
- Freezer storage: Place in freezer-safe containers or heavy-duty freezer bags for up to three months
- Vacuum sealing: Remove all air for maximum freshness and freeze for up to six months
- Refreshing stored bread crumbs: Spread on baking sheet and bake at 250°F (120°C) for 5 minutes to restore crispness before using
Properly stored homemade bread crumbs maintain their quality remarkably well, providing convenience without sacrificing freshness.
10 Creative Ways to Use Bread Crumbs in Your Cooking
Classic Applications
These traditional uses showcase bread crumbs at their finest:
- Crispy coating for proteins: Create the perfect crunchy exterior on chicken cutlets, fish fillets, or pork chops
- Binding for meatballs and meatloaf: Add structure and moisture retention to ground meat mixtures
- Topping for casseroles and gratins: Form a golden, crunchy crust on baked dishes, from mac and cheese to vegetable gratins
Unexpected Uses for BreadCrumbs
Discover these innovative applications that might surprise you:
- Thickener for soups and stews: Add body and richness to broths without flour or cornstarch
- Crunchy topping for pastas and salads: Sprinkle toasted seasoned crumbs for textural contrast
- Savory crust creator: Press onto fish fillets or chicken breasts before baking for a crisp exterior without frying
- Texture enhancer for energy balls: Add structure to homemade energy bites with fine breadcrubs
- Binder for vegetable fritters: Hold delicate vegetable mixtures together during cooking
- Roasted vegetable coating: Toss vegetables in olive oil, then breadcrumbs before roasting for extra crispiness
- Pasta mix-in: Toast breadcrumbs in butter and toss with simple pasta dishes for depth and texture
Each application demonstrates the remarkable versatility of this simple ingredient, proving its worth beyond basic breading.
Bread Crumb Troubleshooting: Common Problems and Solutions
Why Are My Bread Crumbs Not Crispy?
If your bread crumbs lack the desired crispness, consider these possible causes:
- Insufficient drying: Ensure bread is completely dry before processing
- Improper storage: Exposure to kitchen humidity can quickly soften crumbs
- Processing too finely: Over-processing can create powder rather than distinct crumbs
Solution: Spread breadcrumbs on a baking sheet and bake at 300°F (150°C) for 5-7 minutes until crisp, then cool completely before storing in an airtight container.
How to Fix Overseasoned Bread Crumbs
When your seasoned mixture becomes too powerful:
- Blend with unseasoned breadcrumbs to dilute the intensity
- Add mild ingredients like additional grated parmesan to balance strong herbs
- Reserve for recipes where bold flavors complement the dish
Remember that seasoned crumbs will mellow slightly during storage, so minor over-seasoning often resolves itself.
Making Bread Crumbs Without a Food Processor
No special equipment? No problem:
- Place completely dried bread in a sturdy zip-top bag and crush with a rolling pin
- Use a box grater to grate very dry or frozen bread
- Employ a blender on pulse setting, working in small batches
- Try a manual food mill with the coarsest disk installed
These alternative methods may require more effort but produce equally effective results.
Conclusion
Making bread crumbs at home transcends simple kitchen frugality—it’s a gateway to culinary creativity that elevates everyday cooking. By mastering these techniques, you’ve gained control over an essential ingredient that appears in countless recipes across global cuisines.
Homemade bread crumbs offer unmatched freshness, custom flavor profiles, and superior texture while reducing food waste and saving money. Whether you’re creating a crispy coating for chicken parmesan, binding together the perfect meatballs, or adding unexpected crunch to your pasta dishes, these versatile crumbs prove their worth time and again.
Start with the basic methods outlined here, then experiment with different breads and seasonings to develop signature blends uniquely suited to your cooking style. Soon, you’ll never find yourself frantically searching for breadcrumbs during meal preparation again—instead, you’ll reach confidently for your homemade supply, knowing it will transform your dish from ordinary to extraordinary.
Ready to start creating your own custom breadcrumbs? Begin with whatever bread you have on hand today, and discover how this simple technique can revolutionize your cooking tomorrow!
Frequently Asked Questions About Homemade Bread Crumbs
How long do homemade bread crumbs last?
Properly dried homemade breadcrumbs can last about 1 week at room temperature, 2-3 weeks in the refrigerator, and up to 3 months in the freezer when stored in an airtight container.
Can I make breadcrumbs from frozen bread?
Yes, you can make breadcrumbs from frozen bread. Simply thaw the bread first, then proceed with drying and processing it into breadcrumbs as usual.
What’s the difference between panko breadcrumbs and regular brea crumbs?
Panko breadcrumbs are made from crustless white bread that’s processed into flakes rather than crumbs, resulting in a lighter, airier texture that absorbs less oil and stays crispier when fried compared to regular breadcrumbs.
Can I make breadcrumbs with gluten-free bread?
Absolutely! Homemade breadcrumbs can be made with any gluten-free bread, following the same methods as regular bread-crumbs, making them perfect for those with celiac disease or gluten sensitivity.
What’s the best way to season homemade breadcrumbs?
The best way to season homemade bread-crumbs depends on their intended use; for Italian dishes, add herbs like oregano, basil, and parmesan; for a versatile all-purpose option, use a blend of garlic powder, onion powder, salt, and pepper.
Can I make breadcrumbs without an oven or food processor?
Yes, you can make bread-crumbs without special equipment by allowing bread to dry out naturally, then crushing it in a plastic bag with a rolling pin or grating very dry bread on a box grater.
